

I’m probably the worst baker in the world. I’m so bad that one time I replaced the measurement for sugar with salt, and my poor little sister took a big bite and spit it across the room. Anyways, I enlisted the help of Alex, my closest friend and boss baker, to teach the world how she veganized and baked the magical “Happe Birthday, Harry” cake for my birthday party. I’m not vegan, but many of my friends are and Jose is lactose intolerant, so it was a cake everyone at the party enjoyed!
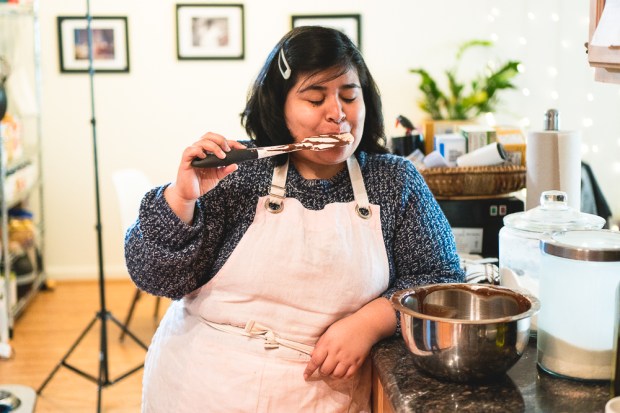
Take it away, Alex.

When Thania first approached me about making the cake and being a guest blogger I was really nervous, but mostly excited and it was really encouraging that she thought I was good enough to be included in Subculture Recall’s message.
Related: HOW TO THROW AN EASY DIY HARRY POTTER PARTY FOR $100
Initially, I thought the cake would come out bad, but then I remembered, “Hey this is perfect for beginners!” Hagrid’s cake wasn’t pretty by any means, but it was made with love and so was this one. I’d never written a recipe for a blog before, it was definitely fun for me to get detailed and technical. Cooking and baking to me is like a science; it’s fascinating and I’m always learning something new — plus I get to eat and share my creations! What’s not to like?
Ingredients for the cake
- 1 1/2 cups room temperature unsweetened non-dairy milk of your choice
- 2 tsp white or apple cider vinegar
- 1/2 cup strong brewed coffee (or sub more milk)
- 2/3 cup melted coconut oil (or vegetable oil
- 2 tsp pure vanilla extract
- 2 heaping cups whole-wheat pastry flour or unbleached all-purpose flour
- 1 1/3 cups organic cane sugar (or sub granulated sugar)
- 1 cup unsweetened cocoa powder
- 2 tsp baking soda
- 1 tsp baking powder
- 1/4 tsp salt
- 5 tbsp of cold chickpea water from a can
- ¼ tsp of cream of tartar
Ingredients for the frosting

- 4-5 cups of powdered sugar
- ½ cup vegan butter
- ½ cup of Nutiva Organic Coconut shortening
- 1 tsp vanilla extract
- 2 tbsp cocoa powder
- ¼ cup non-dairy milk
- 25-30 drops of red gel food coloring
- Green decorative frosting tube for lettering
Instructions
- Preheat oven at 350 degrees.
- Grease two 8” pans and parchment paper to the bottom of pans. Sprinkle cocoa lightly in the pan and turn the pan so the edges are coated in powder then wrap dampened cake pan strips around the outsides of the pans*
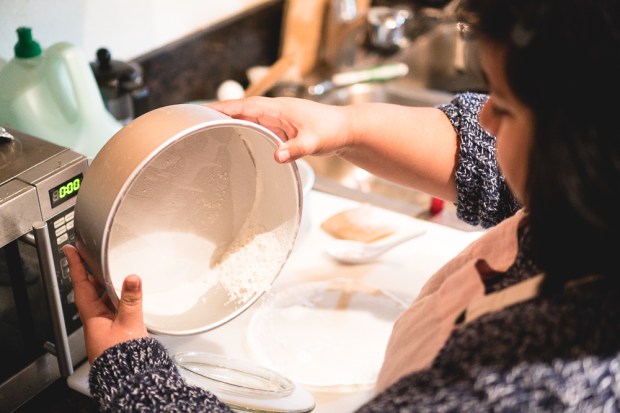
- In a bowl, sift together dry ingredients flour, sugar, cocoa, baking soda, baking powder, and salt.
- Combine the apple cider vinegar and milk and let sit for 10 minutes
- Add milk, oil, vanilla, and coffee to the dry ingredients and mix until fully incorporated
- In another bowl, with a hand mixer or stand mixer, whip the chilled chickpea water and cream of tartar for 3-9 minutes until stiff peaks form**
- With a rubber spatula, fold ⅓ of the aquafaba gently into the cake batter until there are no more white streaks, repeat this step until all the aquafaba is fully incorporated into the cake batter
- Gently pour the cake batter and divide between the two cake pans and back for 25-30 minutes or until an inserted toothpick comes out dry and let cool completely
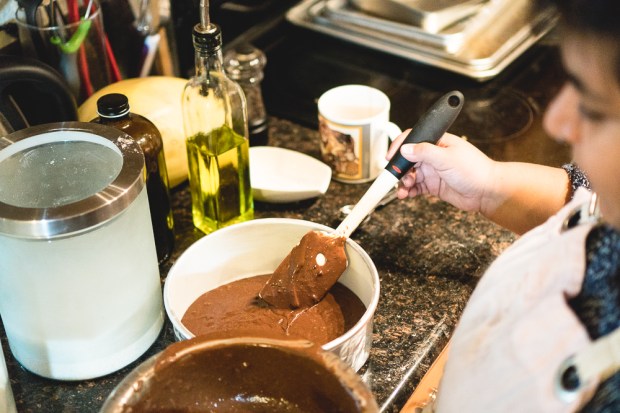
- Now for the frosting! Whip together butter and shortening on high until light and fluffy
- Pour in vanilla extract and milk and continue to whip
- Add one cup of icing sugar at a time, whipping on low at first then turning the speed to high so as to avoid getting powder everywhere, add cocoa powder at anytime between cups of sugar. At this point the frosting should be a light tan color, add more milk a tablespoon at a time if the mix is too dry, or more icing sugar if it’s too wet.
- Add red gel food coloring until the frosting has become a dusty pink color
How to frost the cake and the tools you will need
Tools
cake layers
cake stand
parchment paper
Frosting
offset spatula
How to frost:
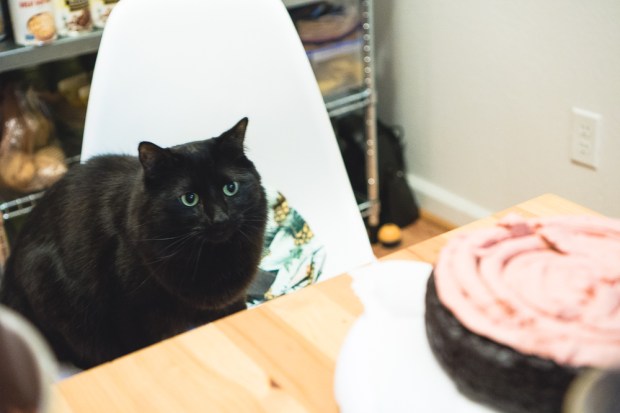
My cat Beans is the frosting supervisor.
- Put a dab of frosting on the cake stand, this is to keep the cake from shifting while you frost
- Place the first layer on the stand so the cake is right side up and the bottom is on the cake stand
- Tuck overlapping pieces of parchment paper under the cake to keep the cake stand clean while frosting the cake
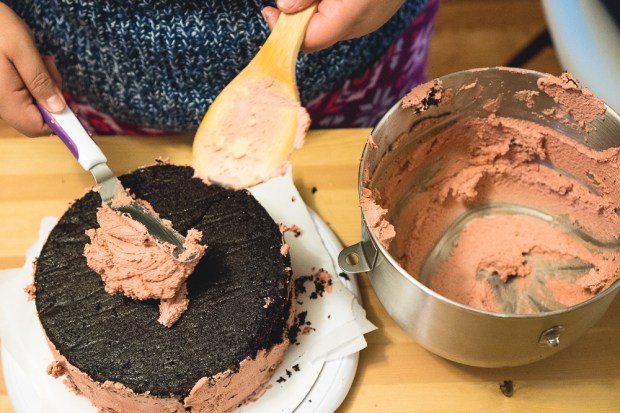
- Start with 1-1 ½ cups of frosting and place a dollop in the center of the bottom layer
- Using the spatula, start in the middle of the cake and spread the frosting evenly over the top and just past the edge of the top surface. The overhang of frosting will help you frost the sides of the cake, so be generous with the frosting since you can always scrape off any excess.
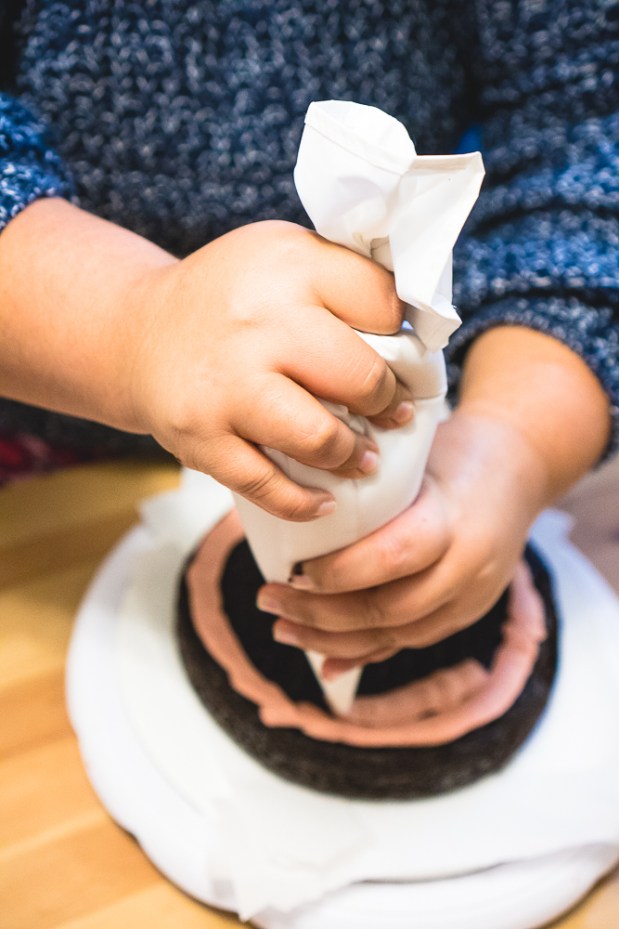
- Alternatively, you can pipe the frosting onto the cake, starting on the outside edge and spiraling into the center, I like this method best since I’m a beginner- it’s the easiest way to make sure the frosting is a distinct and even layer when you cut it later
- Place the second layer top-side down (the cake layers should be flat and you shouldn’t have to trim off the outer edges or cut off a dome as long as you followed all the steps in preparing the pan)
- Frost the sides and top in sections a quarter at a time and turn the cake stand as you go, the goal is to cover the cake with frosting completely, it doesn’t have to look pretty since this is considered a crumb coat
- Chill the cake for about 30 minutes and finish frosting, creating different swirls and textures on the cake
- Lettering the cake can be simple, with a toothpick simply trace out the letters you want to add, smoothing frosting over anything that doesn’t look the way you want
- Pipe the green tube frosting with a number 5 tip onto the stencil you created and your masterpiece is finished!
Notes:
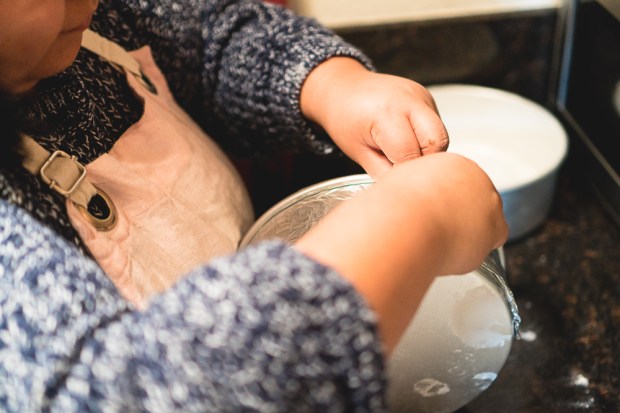
*this cake pan prep may seem excessive, but worth the effort; the parchment paper and powder coating ensures the cakes will not stick to the sides of the pan and allow for easy release when you turn the cakes onto a cooling rack. Additionally, the cake wraps can be found in craft store or be made at home. For this you measure paper towels and tin foil to the diameter of the pan, wet the paper towel and lay it on the foil, fold the tin foil so the damp paper towel is inside and mold the foil wraps around the pans.
This step is optional, but serves an important purpose, it allows the cakes to bake evenly on the inside and the outside and and prevents the cake from forming a dome when baking, so you have evenly cooked and flat layers. Without the wraps, cakes will have a domed top and will cook faster on the outside than they do on the inside, making a crusty outside and soft middle allowing you to avoid trimming the outside of the cake and removing the top to make flat layers- food waste sucks!
**the aquafaba and cream of tartar are replacing eggs (in a non-vegan cake) and applesauce which are both used as binders for cakes. Applesauce makes cakes too dense for my liking, the aquafaba allows air bubbles to form in the cake when baking so you have a fluffy, moist- (ew, moist) texture when cutting. Also, the cream of tartar acts as a stabilizer to the aquafaba, helping it stay airy for longer, thus prevents the cake from collapsing

Who knew so much science went into baking? Cake baking for me is definitely a learning process. There are ups and downs, for this I’ll just add that when life gives you a busted cake, make cake pops! I’m only able to go into so much detail, but follow these steps and you’re sure to make an amazing cake that all your guests will absolutely gush over!
Happy baking!

One thought on “How to make a non-dairy, vegan Harry Potter cake”